
How to work toward your wildfire-resilience designation during each stage of construction.
Key Takeaways
Build with the designation you want in mind.
Align the team from the beginning on your target level (Essential or Enhanced).
Designation is documentation-based, so collect photos, specs, and labels along the way.
Homeowners submit the application while contractors organizethe documentation, site visits, and corrections.
This is the 8th part of our series on designing and rebuilding homes for wildfire-prone environments, informed by our manual, Rebuilding with Resilience. For more in-depth content, we recommend reading chapter 8.
The Wildfire Prepared Home designation gives homeowners and insurers a clear, documentation-based way to show that a new home was designed and built to resist wildfire. Meeting the designation is easier when the whole team (architect, builder, contractor, landscapers) commits to it from the start. Late-stage fixes like swapping out non-compliant vents, moving combustible fencing away from the house, or reworking roof edges that trap debris cause delays and increase costs. This article walks through the four key phases to achieving a designation, from design to construction to documentation and application—focusing on what to keep in mind at each one.
Phase 1: Design & Integration
Start early, before your plans are final. Designation is far easier when it’s integrated into the design and construction process from the beginning. Early coordination between the homeowner, architect, builder, landscape designer, roofer, and exterior trades is critical. The project team should align early on pursuing Wildfire Prepared Essential or Wildfire Prepared Enhanced designation and assign one primary point of contact to coordinate the process.
Design to the standard during the plans and specs phase. During the design phase, the site plan, architectural drawings, material specifications, and exterior detailing should comply with the Wildfire Prepared Home Technical Standard. Key items to watch for are home placement at least 5 feet from property lines (10-feet is better) and 15 feet from other structures, Class A roof assemblies, ember-resistant vents, and non-combustible decks, pergolas, and fences. Landscaping plans should meet Zone 0 and Zone 1 requirements, limiting combustible vegetation adjacent to and concentrated near structures.
Phase 2: Construction
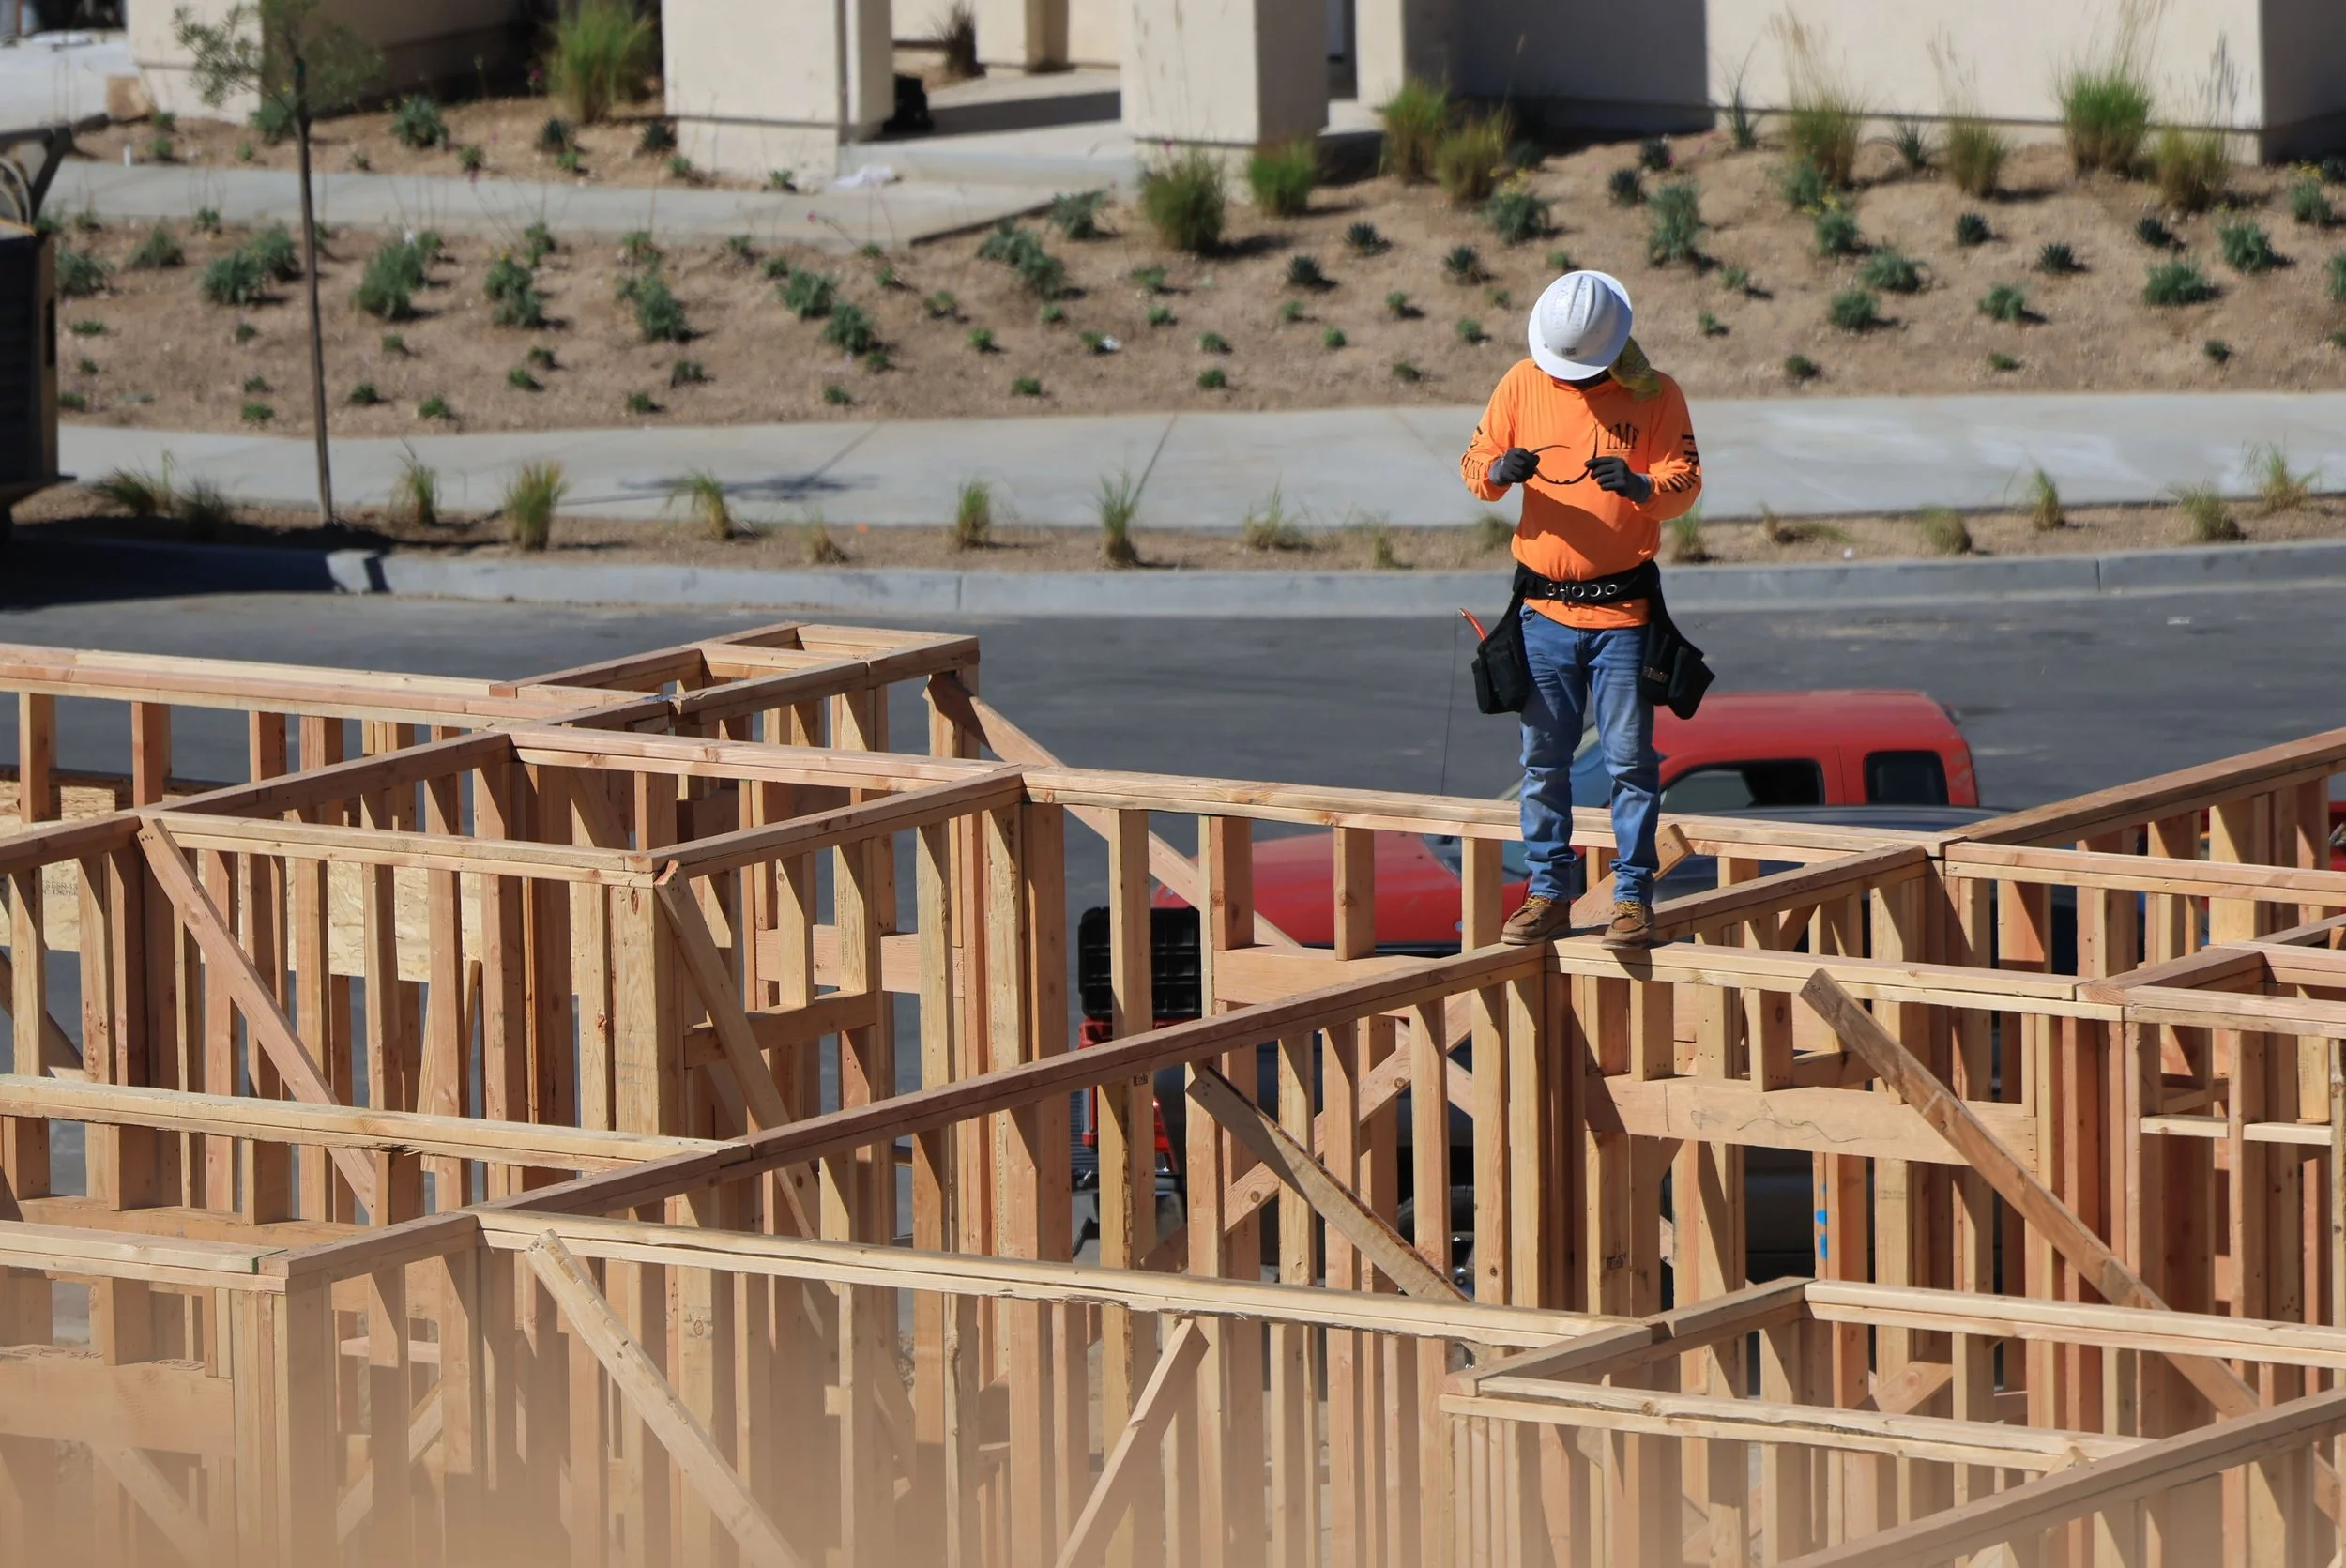
Build to the standard during the construction phase. The contractor is responsible for complying with the building specifications, which, under Phase 1, should match the approved wildfire-resilient design. They should verify the correct materials are purchased and installed consistent with the Wildfire Prepared designation, especially at known points of ember intrusion like vents, flashing, siding terminations, and roof edges. If solar is added, roofing and solar contractors should coordinate to ensure solar installations do not compromise the integrity or Class A performance of the roof assembly. Thorough field quality control during this phase is critical, since vents, flashing, and other assemblies are much harder to inspect or fix once they’re covered up.
Phase 3: Gathering Your Compliance Documentation
Have a clear documentation strategy. Wildfire Prepared designation is documentation-based, meaning photographs, product information, and installation records must be collected throughout construction. Typical documentation includes roof and vent specifications, window and door labels, installation photographs, Zone 0 and defensible space photos, and exterior attachment and assembly documentation. Contractors are encouraged to create repeatable photo checklists to ensure documentation is consistent and complete across projects. Supporting documentation may also include manufacturer specifications, product labels, and tested assembly information.
Phase 4: The Application Process
Create your homeowner account and apply. The homeowner is the applicant for the Wildfire Prepared Home designation process. As construction nears completion, the homeowner creates an account through the Wildfire Prepared Home portal, registers the property address, and submits the application. There is a $125 application fee during this step. While the homeowner submits the application directly, contractors and architects often assist with supporting documentation and coordination.
Upload documentation and photos. Clear documentation is essential to verify that the project complies with the standard. Typically, the contractor assists the homeowner by pulling together and organizing photos of the completed work. Keeping records organized helps streamline the evaluation process and reduce delays during final review.
Coordinate the on-site evaluation. After documentation is submitted, a field evaluation will occur. An evaluator will visit the home to ensure that it physically meets the wildfire resilience requirements. Often, minor corrections are needed which is why it is a good idea to have your contractor on hand during the site inspection. They can then move quickly to complete any punch-list items needed to reach the designation. Once those changes are made, the homeowner can submit the updated documentation showing the corrections were addressed.
Receive your designation. After all requirements are verified, a Wildfire Prepared Essential or Wildfire Prepared Enhanced designation will be attached to the home. Designations are valid for three years and require annual review submissions to maintain active status and should be shared with insurers.
Earning a Wildfire Prepared designation takes planning, coordination, and careful record-keeping, but the payoff is a home built to a recognized standard, with designation documentation you can use in insurance discussions, future resale marketing, and long-term resilience planning. For architects and contractors, designated projects also demonstrate expertise in wildfire-resilient construction and help distinguish their work in fire-prone regions.
We’ve collected this information into an easy checklist below. To learn more about the ins and outs of wildfire-resilient construction, read our full manual, Rebuilding with Resilience.

The Wildfire Prepared Home Designation Checklist
Phase 1: Design & Integration
Align the whole project team on pursuing Wildfire Prepared Essential or Wildfire Prepared Enhanced
Assign one primary point of contact to coordinate the process
Confirm site plan, architectural drawings, material specifications, landscape plans, and exterior detailing comply with the Wildfire Prepared Home Technical Standard
Phase 2: Construction
Build to match the approved wildfire-resilient design
Verify correct installation of vents, flashing, siding terminations, roof edges, and all ember-resistant assemblies
Coordinate roofing and solar contractors so solar installations don’t compromise the roof’s Class A performance
Perform thorough field quality control, since some decisions can’t be undone once the home is complete
Phase 3: Compliance Documentation
Set a clear documentation strategy from the start of construction
Create repeatable photo checklists for contractors to keep documentation consistent
Collect roof and vent specifications
Collect window and door labels
Take installation photographs, especially of assemblies that will be concealed
Photograph Zone 0 and Zone 1
Gather exterior attachment and assembly documentation
Gather manufacturer specifications, product labels, and tested assembly information
Phase 4: The Application
Homeowner creates an account on the Wildfire Prepared Home portal
Register the property address, pay the $125 application fee, and submit the application
Upload documentation and photos (contractor typically helps prepare and organize them)
Coordinates the on-site evaluator visit with contractor
If corrections are required, complete punch-list items and submit documentation showing they were addressed
Receive the official Wildfire Prepared Essential or Enhanced designation
Submit annual reviews to keep the designation active (valid for three years)